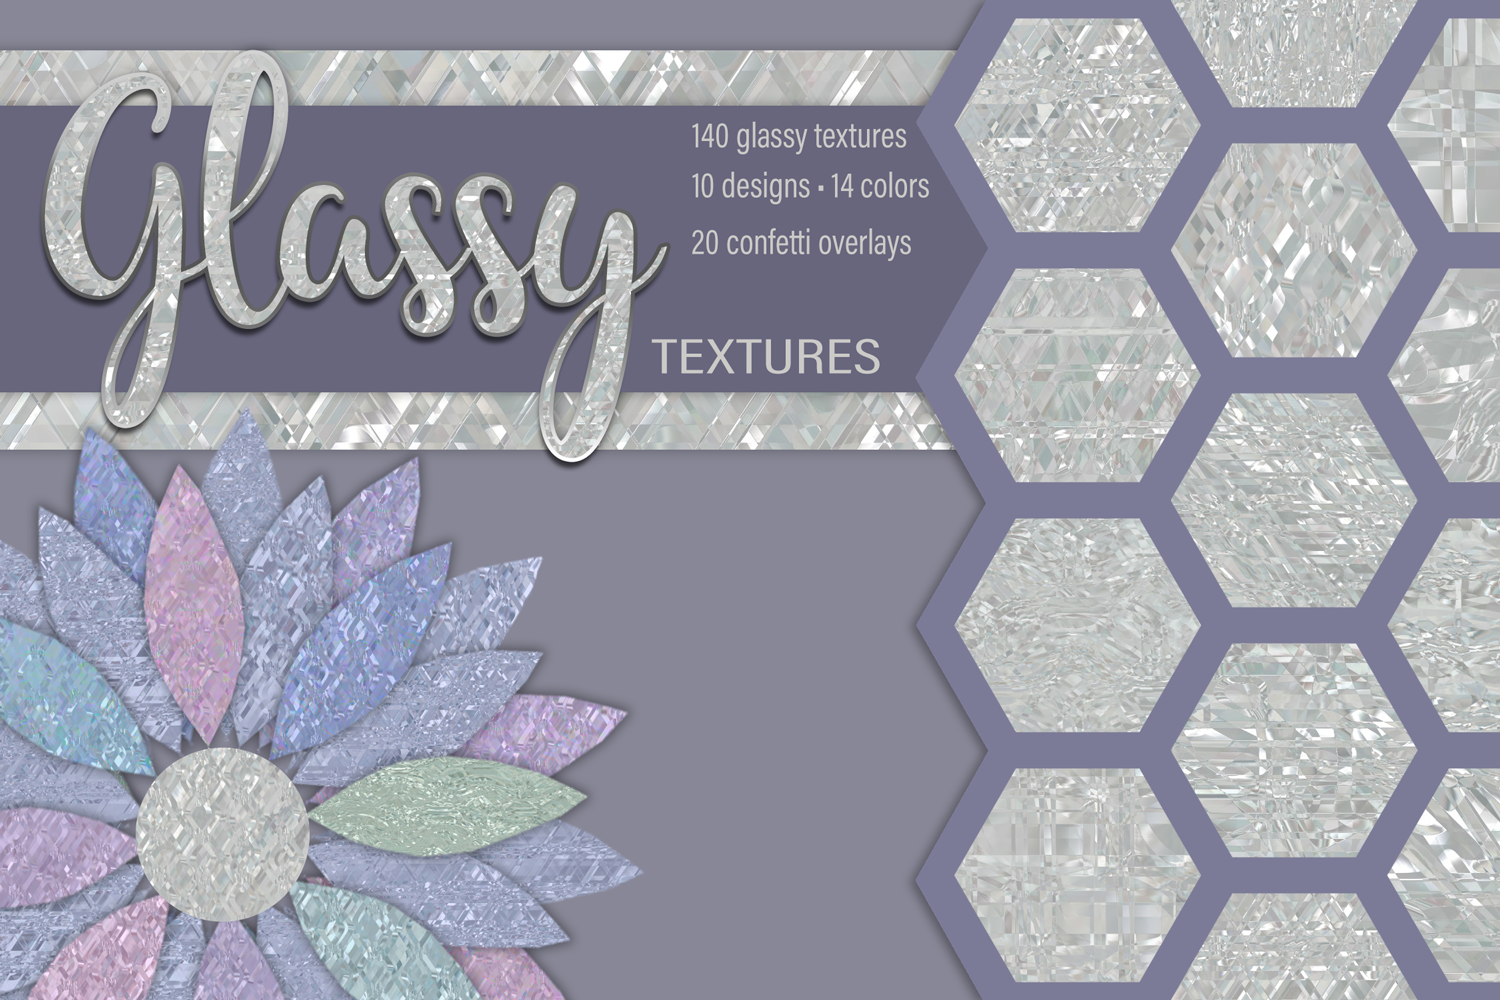
Glassy Textures: A Practical Guide to Reflective, Layered Digital Papers for Designers
Glassy Textures is a curated collection of high-resolution digital papers designed to simulate the optical qualities of real glass—subtle refraction, soft reflection, and dimensional depth—without relying on complex 3D rendering or layered Photoshop effects. What sets it apart isn’t just visual appeal, but its intentional construction: each texture uses randomized micro-patterns that layer organically, creating variation across the surface rather than repeating predictably. This randomness avoids the “too-perfect” look common in algorithmic noise generators or basic gradient overlays—and makes textures feel tactile, even at a glance.
How Glassy Textures Achieves Its Distinctive Look
The core technique behind Glassy Textures involves stacking multiple randomized pattern layers with controlled opacity, scale, and blending modes. Unlike flat gloss overlays or simple radial gradients, these layers interact dynamically when resized or overlaid. For example, scaling a texture down slightly can compress the reflective highlights, intensifying their density and making them read as fine crystal facets; scaling up softens transitions and enhances the sense of liquid-like surface tension. Because each design is built from non-repeating base elements, tiling remains visually cohesive—even when repeated across large print areas like wallpaper or fabric mockups.
This approach differs meaningfully from standard “shiny” or “metallic” texture packs, which often rely on single-layer specular highlights or high-contrast bump maps. Those work well for industrial or tech-themed designs but tend to flatten under varied lighting simulations or multi-layer composites. Glassy Textures, by contrast, retains nuance when placed over photographs, watercolor scans, or textured backgrounds—its reflections respond subtly to underlying contrast and color, rather than overpowering them.
Use Cases Where Glassy Textures Delivers Measurable Value
Glassy Textures excels in scenarios where realism meets scalability—and where manual texture creation would be time-prohibitive. Consider these practical applications:
- Faux gemstone and crystal embellishments: Designers creating greeting cards, packaging labels, or digital invitations often need convincing faceted shine without modeling each stone individually. The randomized patterns mimic natural crystal growth variations better than symmetrical vector shapes.
- Borders and frames with depth: When applied as a narrow strip along an edge and set to low opacity (15–30%), Glassy Textures adds quiet luminosity—not glare—that suggests polished glass edging, especially effective on dark or richly colored backgrounds.
- Overlay enhancements for product mockups: Placing a lightly desaturated Glassy Texture over a smartphone or perfume bottle mockup introduces ambient reflection that aligns with real-world lighting angles—more believable than generic “screen glow” effects.
- Confetti-based motion graphics and social media assets: The included 20 PNG confetti textures—with transparent backgrounds and consistent 3000×3000 pixel dimensions—scale cleanly for both static posts and After Effects compositions. Their irregular shapes and internal glassiness prevent the “cut-out paper” look common in generic clipart packs.
Comparing Formats, Flexibility, and Real-World Constraints
Glassy Textures ships in two formats, each serving distinct technical needs:
- JPG digital papers (140 total): 10 base designs × 14 colors, all at 300 dpi, 3000×3000 pixels, seamless tiling enabled. Ideal for print layouts, scrapbooking, textile repeats, or background fills where transparency isn’t required. JPGs load faster and embed reliably in most layout software—but lack alpha channels, so they can’t be used for non-rectangular masks or soft-edge overlays without additional masking steps.
- PNG confetti textures (20 total): Also 3000×3000 pixels and 300 dpi, but with full transparency support. Essential for web UI elements, animated GIFs, or layered digital illustrations where precise shape control matters. Their file sizes are larger than equivalent JPGs, but the tradeoff is necessary for clean integration into layered workflows.
Both formats share the same physical dimensions (10×10 inches) and resolution—meaning designers can mix and match confidently across projects without resampling or quality loss. That consistency is rare in texture bundles, where mismatched DPIs or aspect ratios often force time-consuming adjustments.
When Glassy Textures Fits—and When It Doesn’t
Glassy Textures is strongest when you need subtle, repeatable, scalable realism—not dramatic light bursts or photorealistic glass fracture simulation. It’s not optimized for:
- High-fidelity product photography retouching: If your workflow requires matching exact studio lighting setups or simulating specific glass thicknesses (e.g., lead crystal vs. tempered float glass), dedicated 3D material libraries or custom shader tools will offer more granular control.
- Monochrome or ultra-minimalist design systems: While grayscale variants exist within the 14-color palette, the inherent complexity of the randomized patterns may compete with strict typographic or negative-space–driven layouts. Simpler gloss overlays or matte metallics might integrate more quietly.
- Dynamic or interactive web elements: These are static raster files—not CSS filters or SVG filters—so they won’t adapt responsively to user interaction (e.g., hover-triggered reflections). They’re best deployed as pre-rendered assets, not live effects.
Conversely, Glassy Textures becomes especially valuable when speed, consistency, and cross-platform compatibility matter—for instance, in agencies producing seasonal branding kits across print, email, and social banners. Being able to apply the same texture family across all touchpoints—knowing it will tile seamlessly on a 24″ trade show backdrop and render crisply on a 320px mobile thumbnail—reduces QA overhead significantly.
Practical Tips for Getting the Most From Glassy Textures
Because these textures respond well to layering and resizing, small adjustments yield noticeable results:
- Start with opacity between 10% and 25%: Glass rarely reflects 100% of ambient light. Lower opacity preserves underlying detail while still suggesting surface quality.
- Try blending modes beyond Normal: Soft Light or Overlay often enhance perceived depth more naturally than Multiply or Screen, especially over midtone backgrounds.
- Rotate or flip textures before tiling: Even slight rotation breaks visual rhythm and reinforces the “hand-crafted” impression—helpful when avoiding mechanical repetition in large-scale prints.
- Combine with subtle grain or paper texture: Adding a low-opacity scanned paper texture beneath a Glassy Texture layer mimics how real glass sits atop printed materials—adding authenticity without clutter.
Glassy Textures doesn’t replace advanced rendering tools—but it fills a pragmatic gap between generic stock textures and labor-intensive custom builds. For designers balancing creative fidelity with production timelines, it offers a predictable, reusable foundation for achieving that elusive “just polished enough” finish—whether crafting a luxury jewelry ad, a wedding invitation suite, or a boutique app interface.